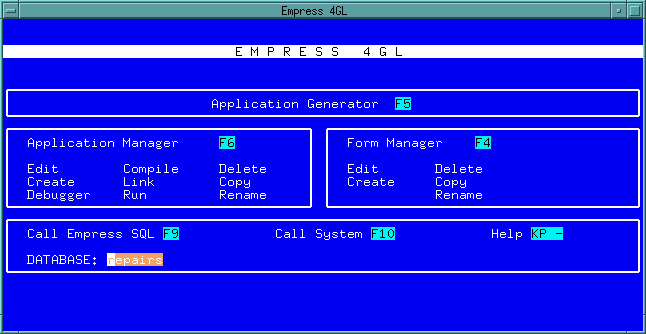
 Figure 4-1 Application Development Main Menu
An Empress 4GL application consists of the following components:
Since much of the processing in an application revolves around windows, they are a natural focus for defining and describing the structure of an application. In general, for each window you will:
In this chapter, we will show you:
emp4gl repairs
Note: The database repairs must have been initialized earlier for use with the 4GL by using the emp4init command. The emp4gl command executes an Empress 4GL application called sys_main.
4.1.1 Database Structure
The table below will be used in the following tutorials and should be created
in the sample database repairs before you start. Some sample data
is also provided.
*** Table: personnel ***

number          integer
name            char (25,1)
phone           char (15,1)
credit_limit    dollar (6,1)

number  name       phone     credit_limit
 10     Kilroy     426-9681        500.00
  5     Mosca      544-2243        750.00
 17     Wladislaw  723-6073         50.00
  3     Jones      667-2951        500.00
  8     Peterson   978-6060        250.00
  4     Scarlatti  961-7363        100.00
  9     Jordan     964-3335        250.00
The first screen that appears on your terminal is the Empress 4GL Application Development Main Menu.
Figure 4-1 Application Development Main Menu
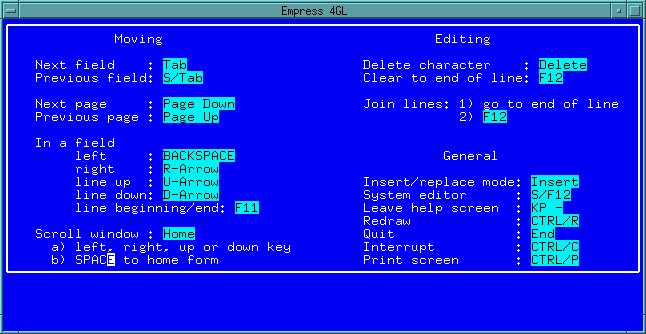 Figure 4-2 Help Screen
For your convenience, please memorize these keys or press the <Print screen> key to obtain a hard copy of the screen. The <Print screen> key will take a snap shot of your terminal screen and put it in an ASCII file. The name of this file is controlled by the Empress 4GL system variable MS4GLPRINTSCREEN. The default filename is SCREEN.
To find out the default values of Empress 4GL system variables, please refer to the Empress 4GL: Administrator's Guide.
When you are done here, press the Help key again to remove the Help screen.
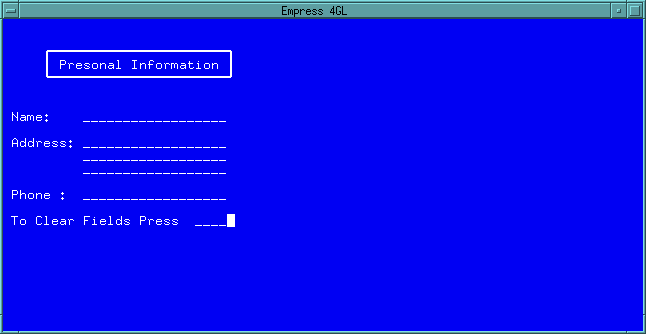 Figure 4-3 Personal Information Form
A form is created through the Form Manager. Press the Form Manager key from the Main Menu.
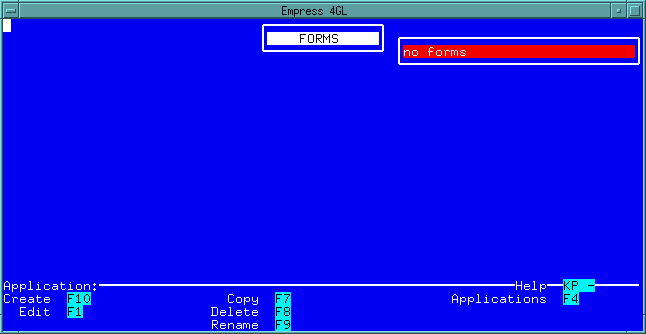 Figure 4-4 Form Manager
Do the following steps:
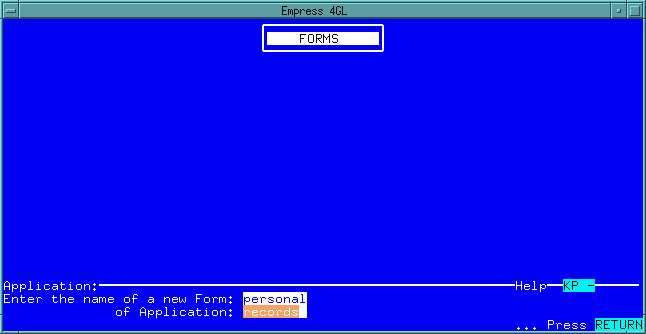 Figure 4-5 Creating a new form
Pressing the <Return> key moves you to the blank area where you will paint a form for the application.
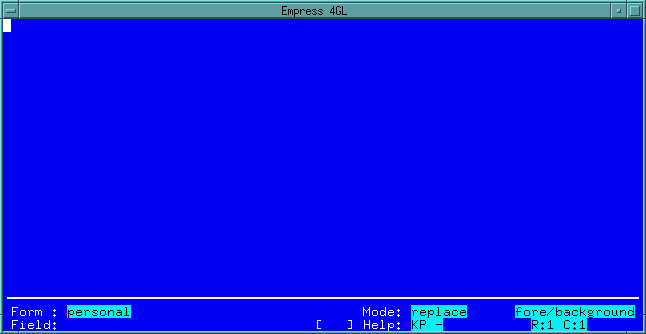 Figure 4-6 Form Editor
Currently, your cursor is at the (1,1) position as indicated in the lower right corner of the status area, R:1 C:1.
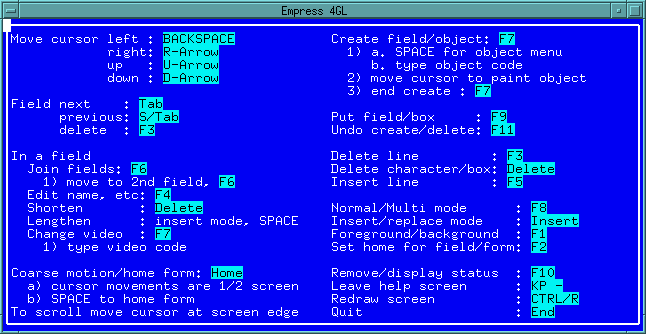 Figure 4-7 Help screen for the Form Editor
You may print a hard copy of this screen following the instructions indicated in the previous section.
Press the Help key again to return to the Form Editor.
Personal InformationIf you make a typing mistake, move the cursor using the cursor motion keys Move cursor left, Move cursor right, Move cursor up or Move cursor down keys which are found in the Help screen to type over the text. <Space> bar will always erase the text.
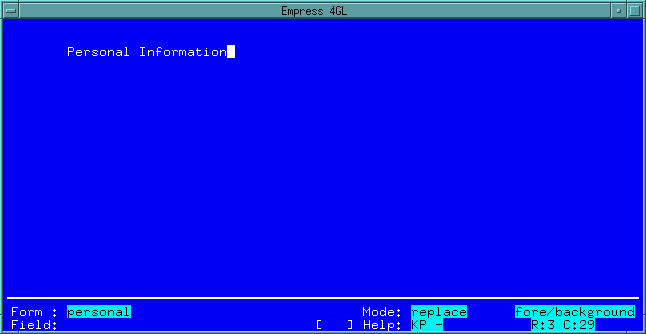 Figure 4-8 Background Text
4.3.3 Creating a Box
Move the cursor to the position (4,30) press Create field/object key
and press the <Space> bar. An information box will be displayed. This
information box differs depending on the type of terminal being used. If
the terminal is color and can handle reverse video, you may see the following:
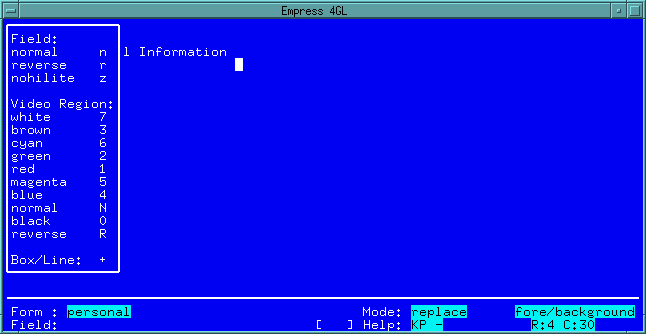 Figure 4-9 Form Editor Information Box
To create a box, press the Box/Line key, move your cursor to the left until it reaches position (4,7) (as indicated in the status box R:4 C:7), then move your cursor up to (2,7) position.
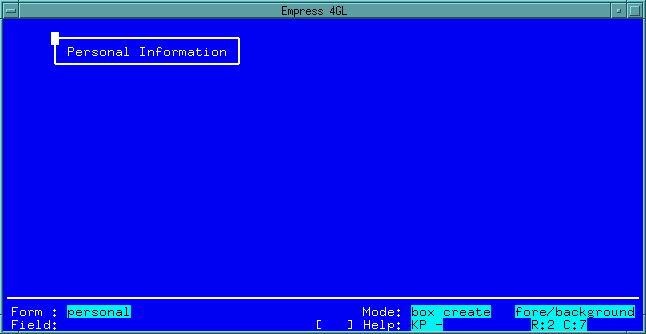 Figure 4-10 Creating a box
Note that while you are creating the box on the form, the mode changes to box create in the status box at the bottom of the screen.
Press the Create field/object key again to end the creation of the box.
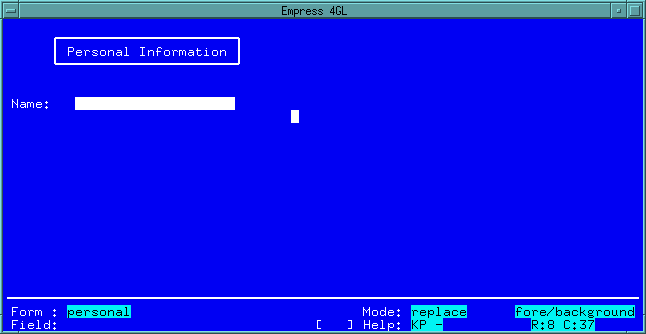 Figure 4-11 Single Line Field
We have just completed the creation of our first Empress 4GL field. Note that the status window shows the field name is 1 by default. In later sections, we will show you how to change the field name.
The field we just created is called a single line field. Now we are going to create address field which is a multi-line field (one field containing multiple lines). Do the following steps:
Address:
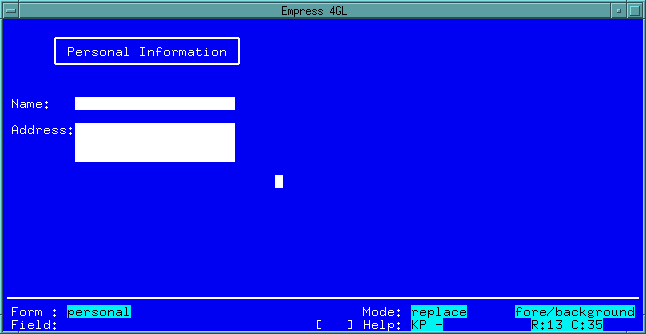 Figure 4-12 Multi-line Field
Repeat the same steps to create fields for Phone:.
Phone:
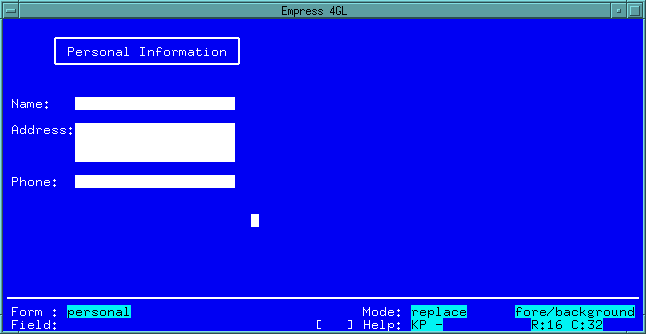 Figure 4-13 Completed Form
4.3.5 Changing the Field Definition
Move the cursor to the first field and press Edit name, etc.
key.
You can get to the first field quickly by pressing Next field. It may be necessary to press the Next field key more than once to reach the first field.
This window will show on the screen:
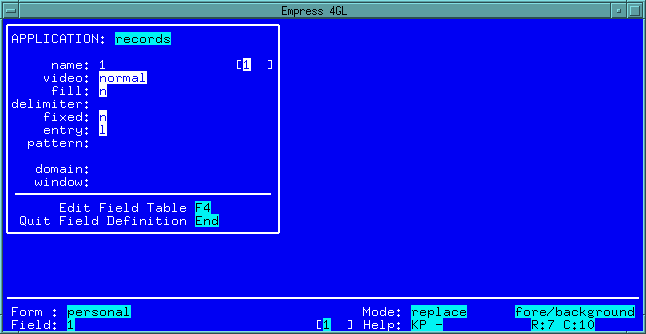 Figure 4-14 Field Definition
Type in name beside name:.
Press the <Tab> key twice to move to the fill: field characteristic. Change it from n to y by pressing "y".
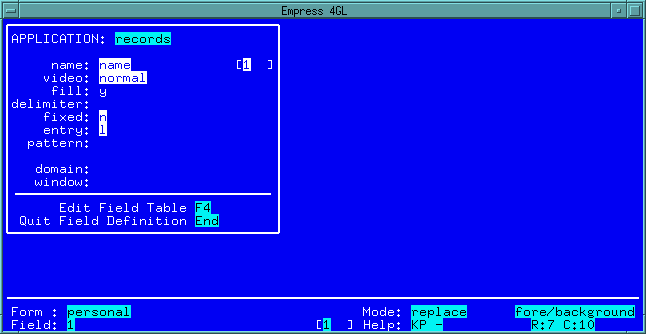 Figure 4-15 Field Definition
Note: It is much easier to remember the field names if they correspond to the data which is intended to be displayed.
If the field is used to display data from an attribute, it is recommended that you use the attribute name as the field name. This method also allows you to use the automated binding feature provided by Empress 4GL.
From this window, you may also change other characteristics of the field, for example, the video type, define field delimiters, etc.
The Edit Field Table key allows you to enter the Field Definition section of the Application Editor.
Press the Quit Field Definition key to save these changes and resume editing the form.
Once you exit the field editing, you will notice that in the status window, the field name is changed from 1 to name.
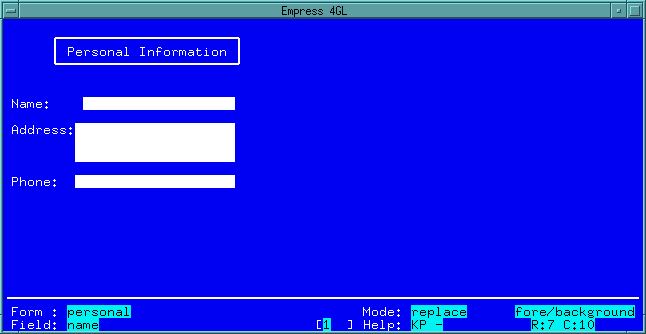 Figure 4-16 Field: name
Follow the same steps to edit the Field 2 to address and Field 3 to phone.
Now that you have completed the form creation, press the Quit key and the following appears on the screen:
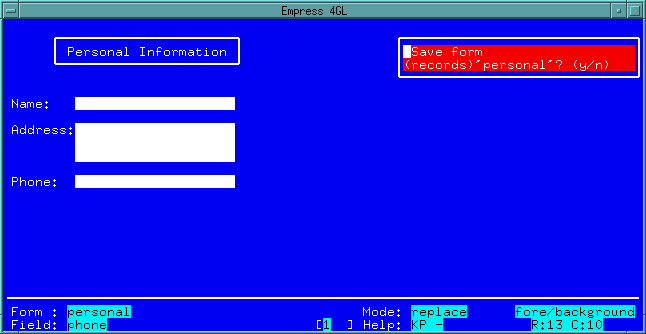 Figure 4-17 Saving the form
If you wish to save this form, type y to answer the prompt.
If you wish to continue editing the form or to discard all the changes made during this session, you may choose to answer n to this question.
Note: The 4GL tells you what form it is about to save. In this example, the name is:
(records) 'personal'The application name is in parenthesis and the form name is in single quotes. All 4GL forms in a single database are stored in a single table but named uniquely by application and form name.
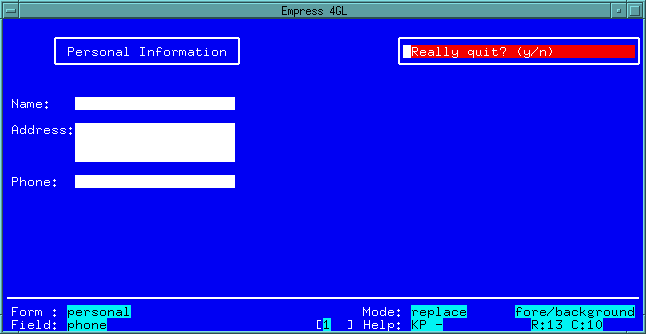 Figure 4-18 Quitting the Form Editor
Type y to bring you back to the Form Manager.
Press the Application key to switch to the Application Manager window for the next exercise of this tutorial.
If you do not wish to continue the tutorial at this time, press the Quit key to return to the Main Menu.
In this section, we have shown you how to create a form using the Form Editor.
From the Empress 4GL Main Menu, press the Application Manager key, this will bring you to the Application Manager window:
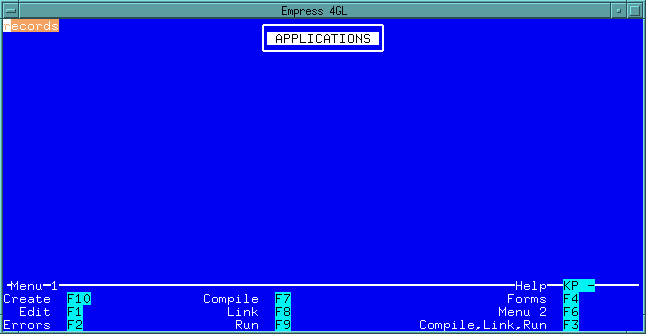 Figure 4-19 Application Manager
If you are continuing the tutorial from the previous exercise, your screen may already look like this.
When we created the personal form, we indicated that the form will be used in the application is called records. The Form Editor checks to make sure that the application exits and creates it if it doesn't. That is why records is listed as an application.
Press the Edit key and you will see the APPLICATION TABLE screen:
 Figure 4-20 Application Table
The APPLICATION TABLE screen always shows up first when the Edit key is pressed. Windows are defined in the WINDOW TABLE.
If you press the Tables key, a TABLES menu appears on the screen:
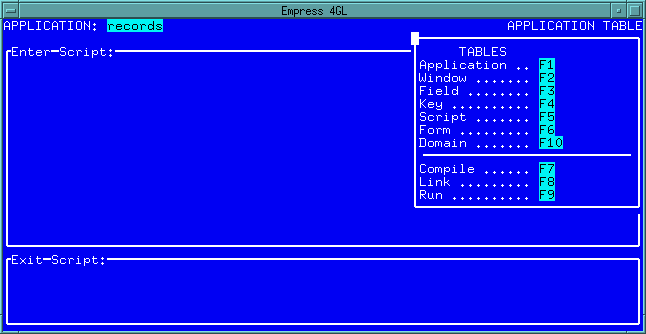 Figure 4-21 Tables Menu
4.4.1 Window Definition
Press the Windows key and the WINDOW TABLE screen appears:
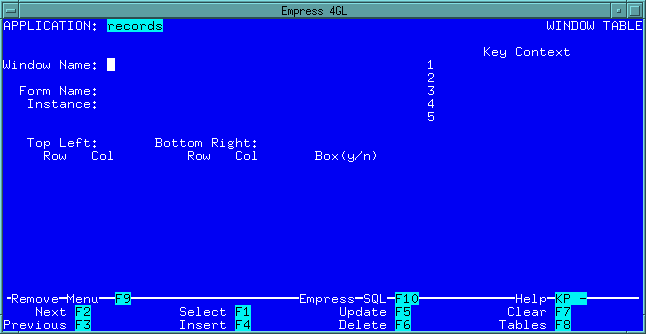 Figure 4-22 Window Table
The cursor is in the Window Name field. Enter information as the window name. Move the cursor to the next field (press the Help key, if you don't know which key to press). Enter all the values as indicated below.
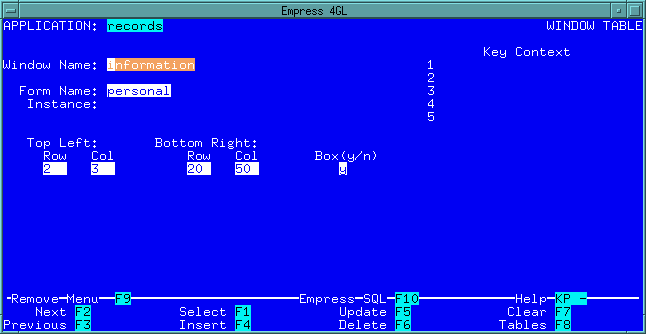 Figure 4-23 Window Table
Press the Insert key to insert the record.
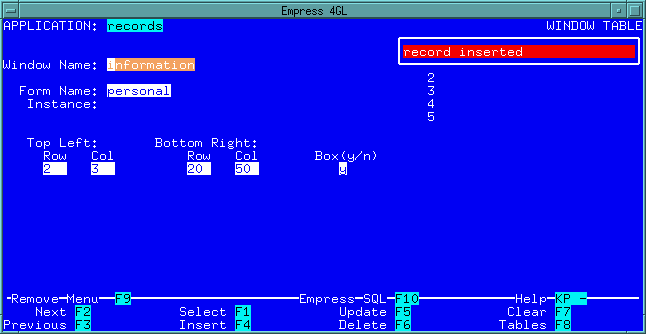 Figure 4-24 Window Table
Now a window named information is defined in the records application to display a form named personal at the coordinates (2, 3) for the top left corner and (20, 50) for the bottom right corner. There are lines surrounding the edges of the window.
 Figure 4-25
When the application is run, the first step is to execute the APPLICATION TABLE Enter Script.
Type in:
call show_window ('information');
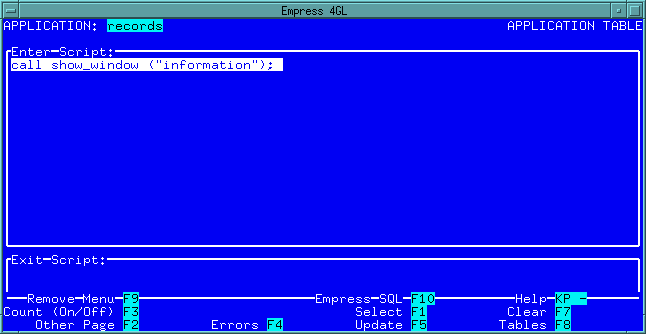 Figure 4-26 Application Table Enter Script
And press the Update key to save the changes.
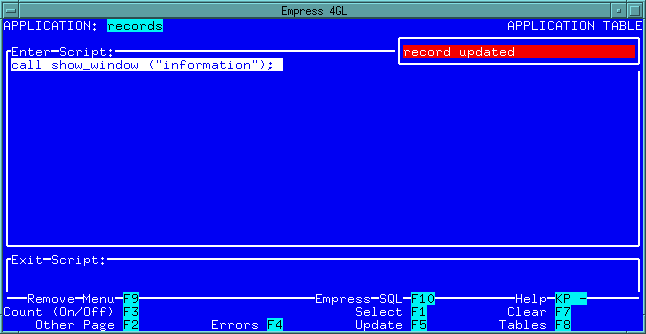 Figure 4-27 Application Table Enter Script
Note: There is only one record in the APPLICATION TABLE for each application, no Insert key is available for the APPLICATION TABLE. Always use the Update key even for the new record.
Now, press the Table key and then press the following keys in sequence:
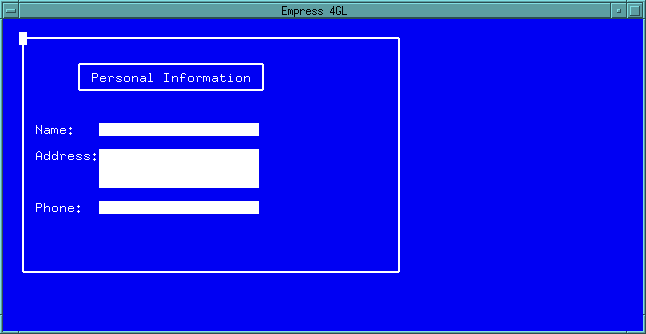 Figure 4-28 Personnel Application
Press Quit key (and answer the prompt by typing y) to exit the application. This will bring you back to the TABLES Menu.
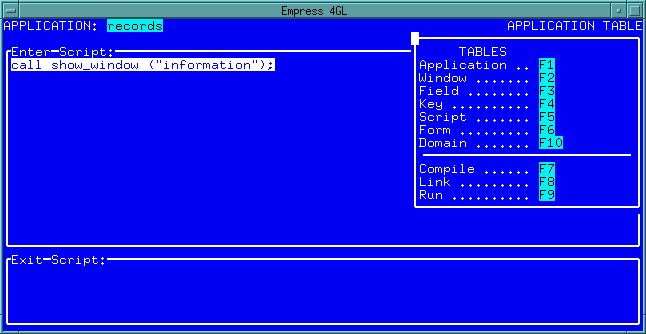 Figure 4-29 Tables Menu
Press the Application key to switch to the APPLICATION TABLE for the next exercise of this tutorial.
If you do not wish to continue the tutorial at this time, press the Quit key three times to return to the Main Menu.
In this section, we have shown you how to define and show a window in an application.