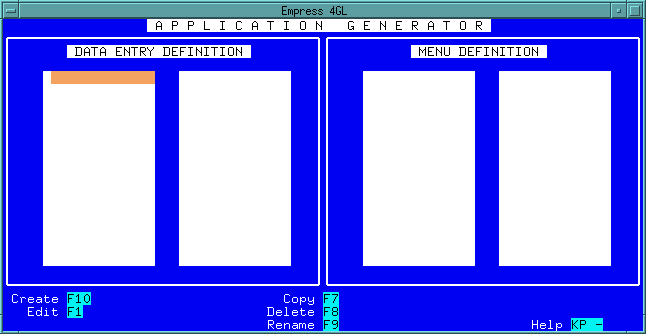
 Figure 4-72 Application Generator Main Menu
From the Empress 4GL Development Main Menu, press the Application Generator key. The Application Generator Main Menu is displayed:
 Figure 4-72 Application Generator Main Menu
Press the Create key and enter employee2 as the new definition name.
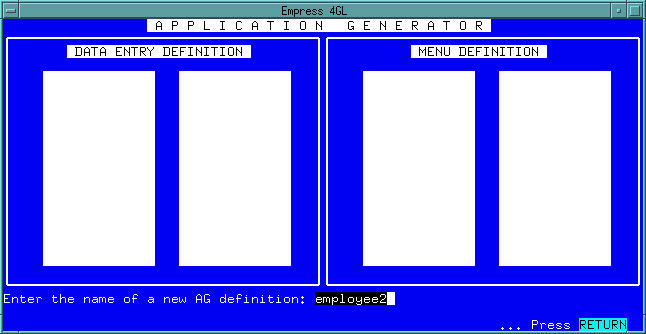 Figure 4-73 employee2 Application
Press the <Return> key and the following screen appears:
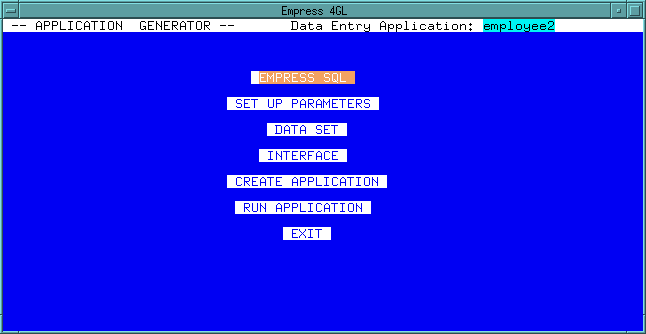 Figure 4-74 Data Entry Application
Move the cursor to DATA SET.
When the <Return> key is pressed, you will see a small window to the right of your selection.
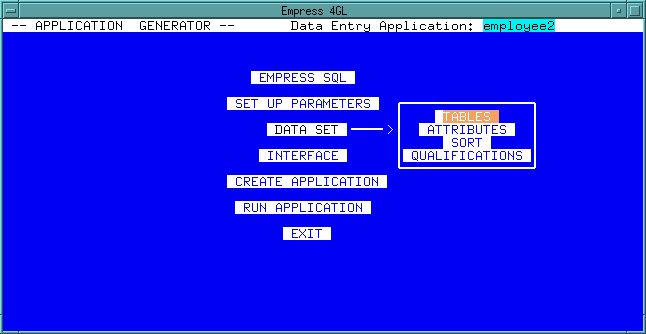 Figure 4-75 Data Set
Move the cursor to TABLES and press <Return>, the screen should look like this:
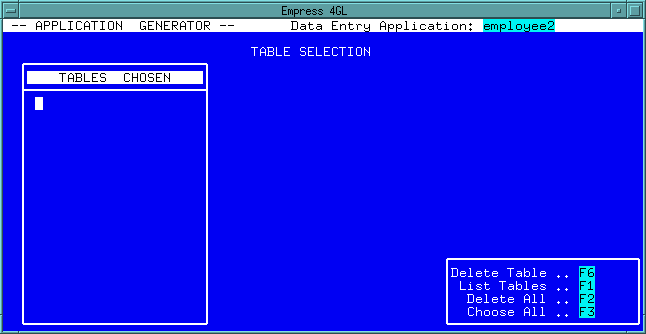 Figure 4-76 Tables
Press the List Tables key:
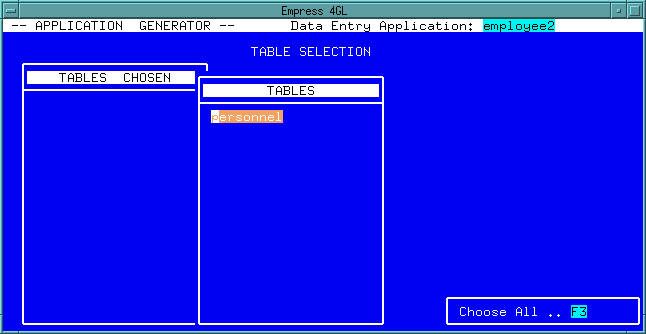 Figure 4-77 List Tables
Since there is only one table in the example, we can press the Choose All key.
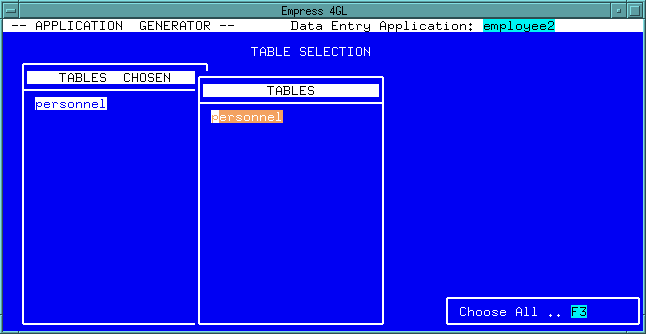 Figure 4-78 Choose All
If there are more than one table in the database, they would have been listed in the TABLES list and you would select the names of each table you want to include in you application by moving the cursor to it and pressing the <Return> key. Note that the Application Generator allows you to generate a screen interface application based on more than one table. For more detailed information, please refer to the Empress 4GL: Tools Reference manual.
Press the Quit key twice to return to this screen:
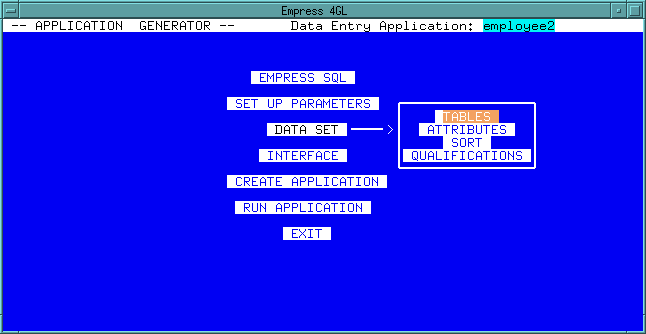 Figure 4-79 Data Set
Press the Quit key and move the cursor to CREATE APPLICATION and press <Return>. This will create an application called employee2.
Move the cursor to RUN APPLICATION and press <Return>. You will see the same personnel application presented in a different format. Instead of one record per screen as created by the Default Application Generator, it is now in the multi-record display format.
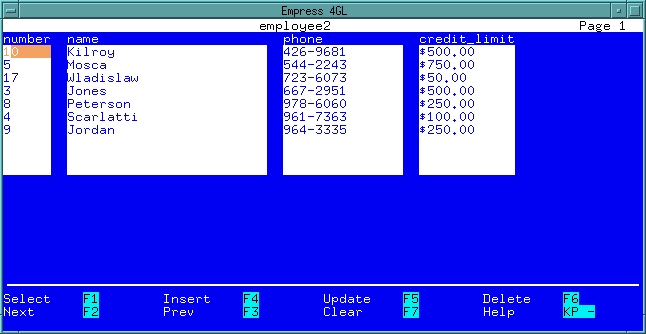 Figure 4-80 employee2 Application Multi-record Display
Press the Quit key to exit the application. Move the cursor to EXIT and press <Return>. You will see the following screen:
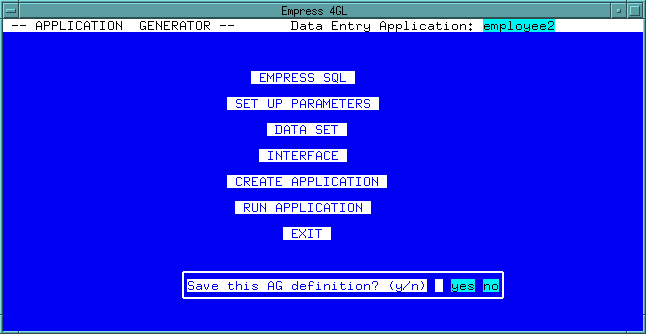 Figure 4-81 Save the Application Generator Definition
At this point, the application is created and the Application Generator (AG) is asking if you would like to save this definition. The "definition" refers to the Application Generator's descriptive representation of how to build the application it just built for you. Saving this definition now will enable you to return to the Application Generator later to modify the application rather than using the Application Editor. If you wish to save the definition for later modifications, enter "y". If not, enter "n". In this example, we will enter "n". This will take you to the Application Generator Main Menu.
Press the Quit key to return to the Empress 4GL Main Menu.
The form employee2_form1 is created based on the Application Generator SET UP PARAMETERS and DATA SET:
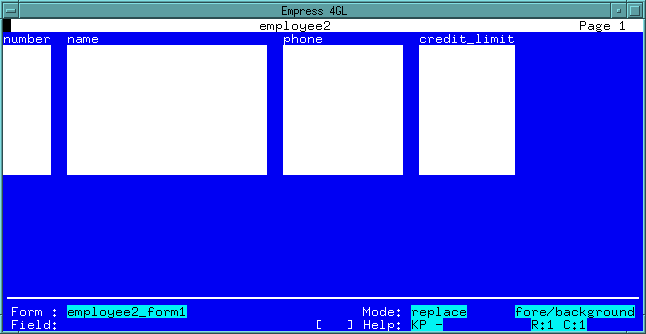 Figure 4-82 employee2_form1
The SET UP PARAMETERS for the employee2 specifies:
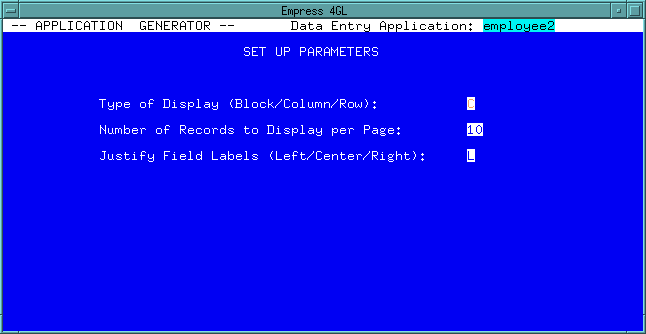 Figure
4-83 Set Up Parameters
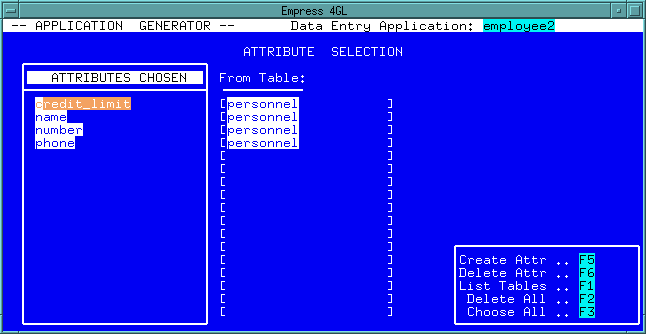 Figure
4-84 Data Set Attributes
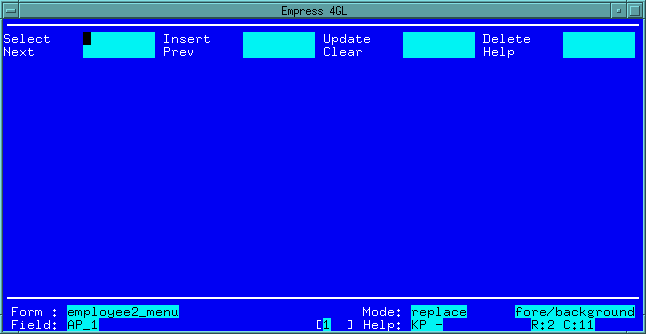 Figure 4-85 employee2_menu
The form employee2_help is used for the Help window for each attribute as indicated by the INTERFACE/SCREEN definition.
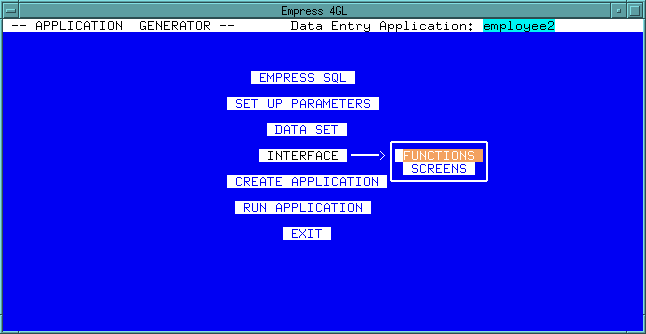 Figure 4-86 Interface
To have help available on a per-attribute basis, change the N to Y in the Help column beside the attributes for which help will be available. Each time you change an N to a Y, you will be given the opportunity to type in a few lines that will be displayed when the Help key is pressed while this field is current.
By default, the Application Generator does not create Help for each attribute.
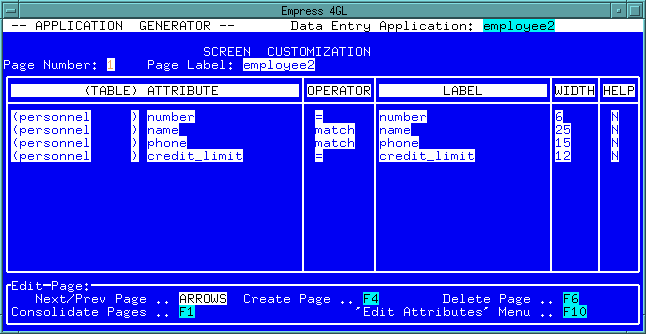 Figure 4-87 Interface Screen
4.7.2.2 Application Enter Script
When you run the employee2 application, the following Application
Enter Script is executed:
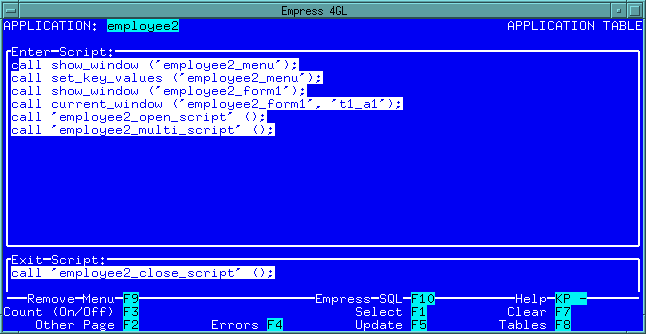 Figure 4-88 Application Enter Script
The following are the detailed explanations of each statement in the APPLICATION TABLE Enter Script:
call show_window ('employee2_menu');
call set_key_values ('employee2_menu');
These two statements display the employee2_menu window and assign
the function keys to it based on the terminal type that you are using.
The employee2_menu window is defined in the WINDOW TABLE.
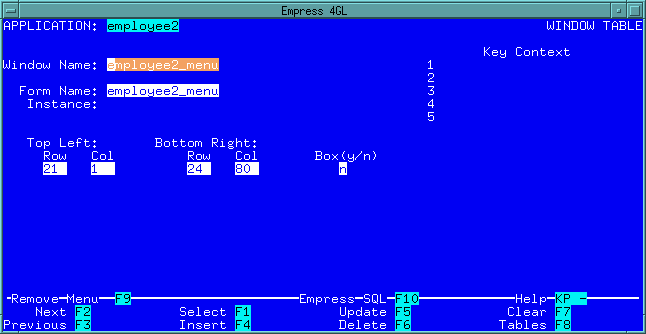 Figure 4-89 employee2_menu Window
call show_window ('employee2_form1');
This statement displays the employee2_form1 window which is defined
in the WINDOW TABLE.
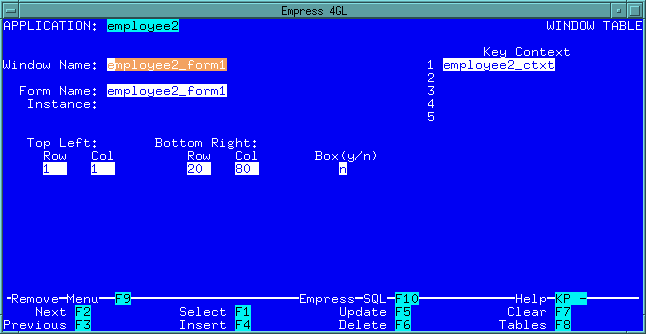 Figure 4-90 employee2_form1 Window
call current_window ('employee2_form1', 't1_a1');
This statement assigns employee2_form1 as the current window and
the field t1_a1 as the current field. t1_a1 is the field
corresponding to the number attribute in the table. It is chosen
as the current field because it is closest to the top left corner of the
form.
call 'employee2_open_script' ();This statement calls a subscript which is defined in the SCRIPT TABLE.
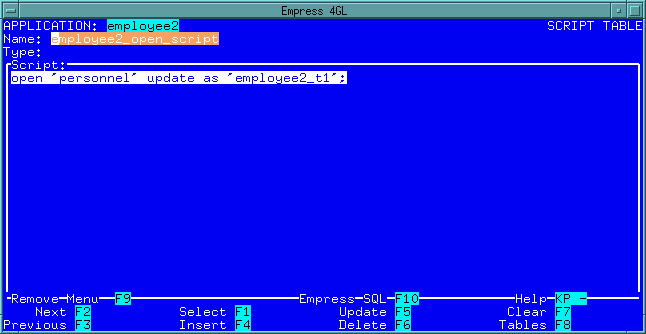 Figure 4-91 employee2_open_script
This script opens the personnel table in update mode and assigns employee2_t1 as the table instance name.
call 'employee2_multi_script' ();This statement calls the employee2_multi_script subscript which is defined in the SCRIPT TABLE.
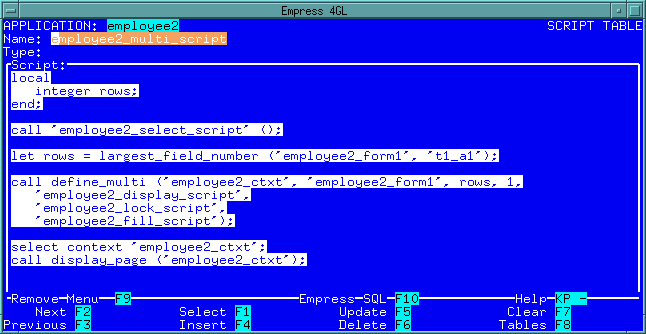 Figure 4-92 employee2_multi_script
employee2_multi_script does the following:
local
   integer rows;
end;
call 'employee2_select_script ()';The employee2_select_script defines a select statement and assigns employee2_ctxt as a context name.
The define select is different from the regular select only in that the select is not actually run when the define select statement is executed.
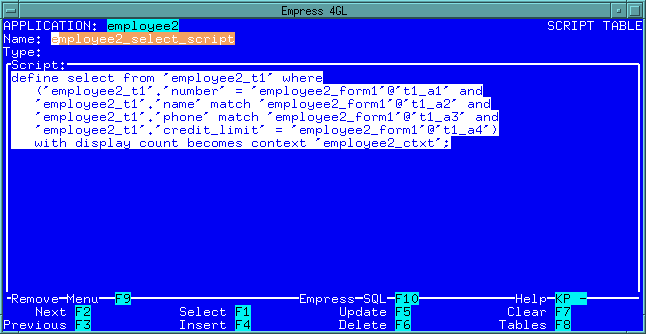 Figure 4-93 employee2_select_script
let rows = largest_field_number ('employee2_form1', 't1_a1');

call define_multi ('employee2_ctxt', 'employee2_form1', rows, 1,
   'employee2_display_script',
   'employee2_lock_script',
   'employee2_fill_script');
It also associates several scripts with the window and context for maintaining
the multi-record display.
The employee2_display_script assigns the attribute values to the fields.
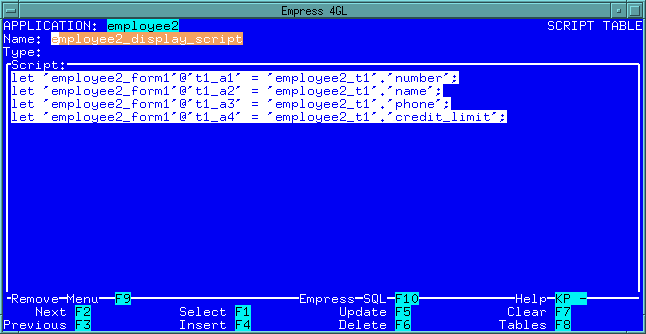 Figure 4-94 employee2_display_script
The employee2_lock_script defines the action to be taken when a locked record is encountered.
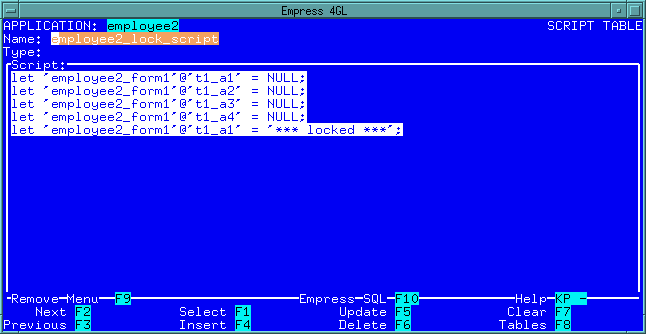 Figure 4-95 employee2_lock_script
The employee2_fill_script defines the action to be taken when there is no record to display.
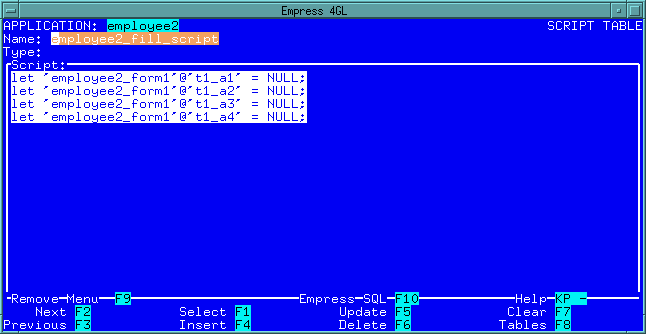 Figure 4-96 employee2_fill_script
Now, back to employee2_multi_script.
select context 'employee2_ctxt'
call display_page ('employee2_ctxt');
4.7.2.3 Field Enter and Exit Scripts
In a multi-record display, the form contains arrays of fields for each
attribute that is to be displayed. If the definition for each field in
an array is the same, then they may be defined in the Field Table with
a single entry as follows:
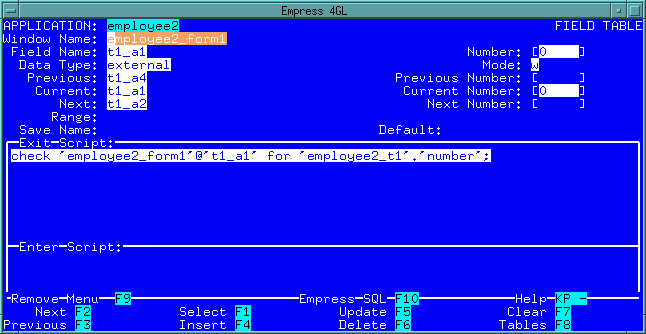 Figure 4-97 t1_a1
Notice that we use "0" as the field number. This means that all fields in the window employee2_form1 with the name t1_a1 have this definition.
In our example, the fields t1_a1, t1_a2, t1_a3 and t1_a4 will have a similar entry in the Field Table.
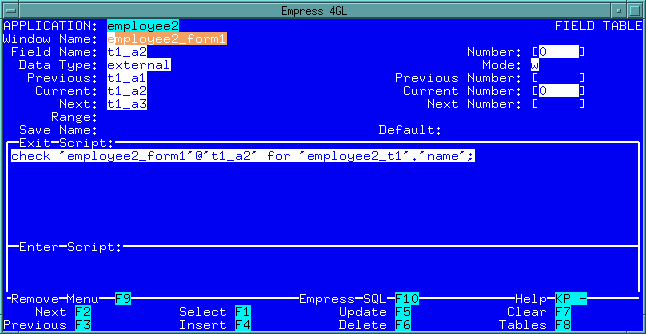 Figure 4-98 t1_a2
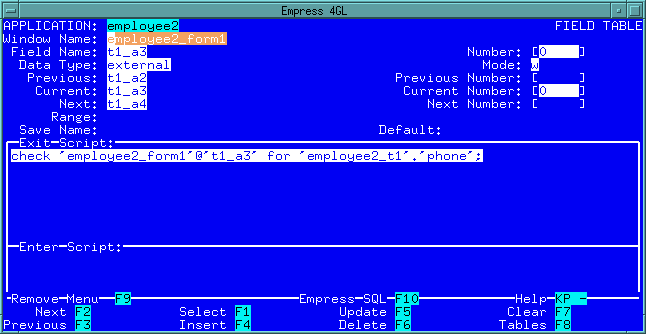 Figure 4-99 t1_a3
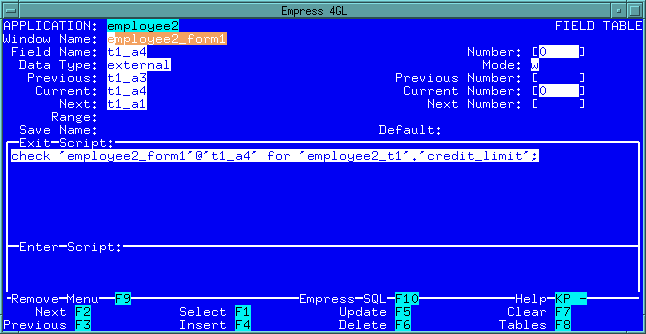 Figure 4-100 t1_a4
4.7.2.4 Key Scripts
The key scripts for employee2 are defined in the KEY TABLES. They
are:
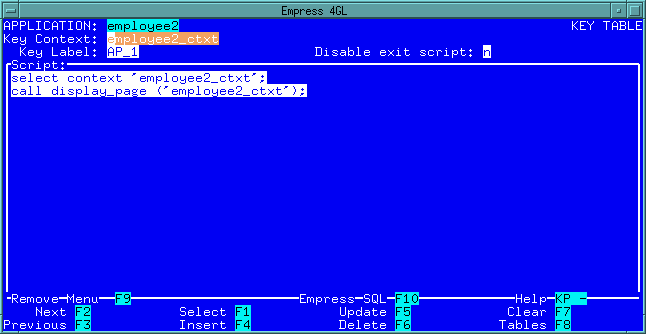 Figure 4-101 Select Key
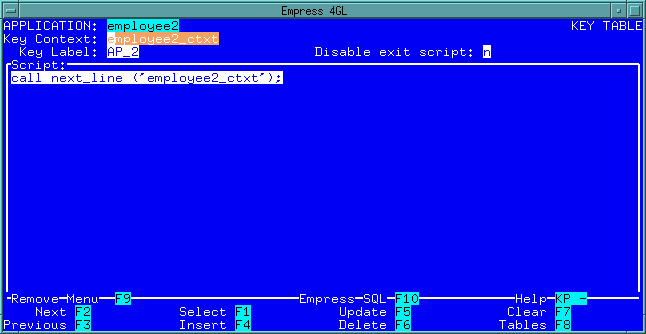 Figure 4-102 Next Key
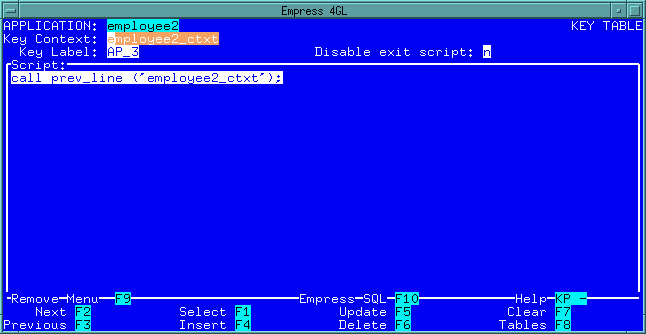 Figure 4-103 Previous Key
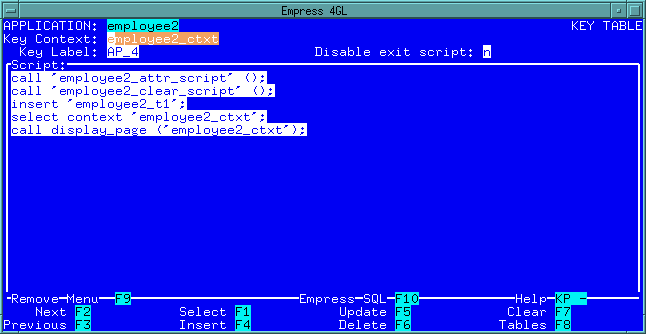 Figure 4-104 Insert Key
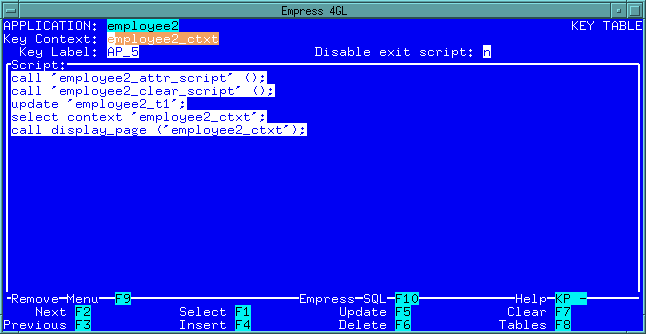 Figure 4-105 Update Key
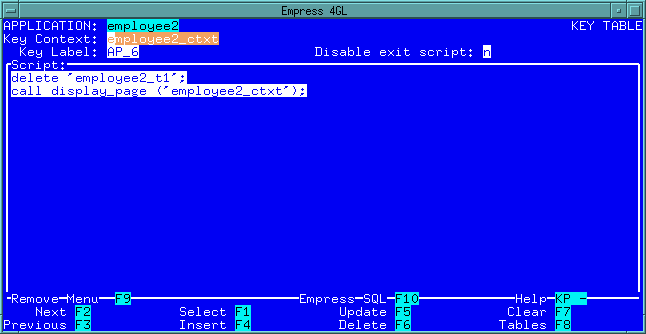 Figure 4-106 Delete Key
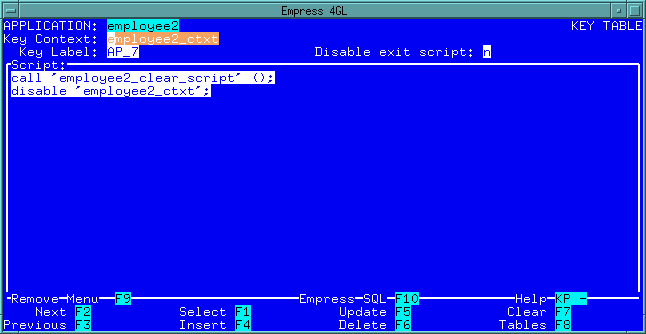 Figure 4-107 Clear Key
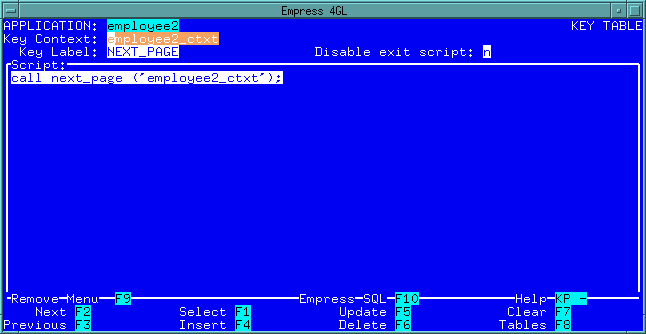 Figure 4-108 Next Page Key
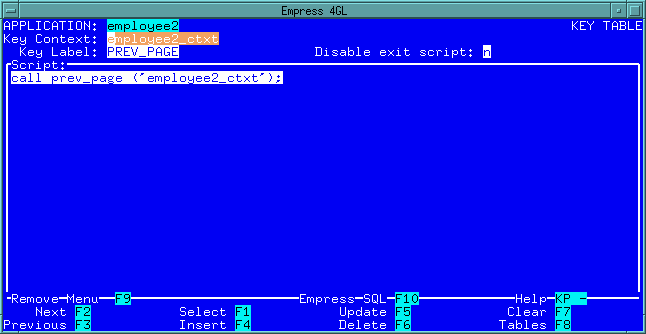 Figure 4-109 Previous Page Key
There are two subscripts called from keys in the context employee2_ctxt: employee2_attr_script and employee2_clear_script. Both of them are defined in the SCRIPT TABLE.
The employee2_attr_script assigns the field values to the attributes.
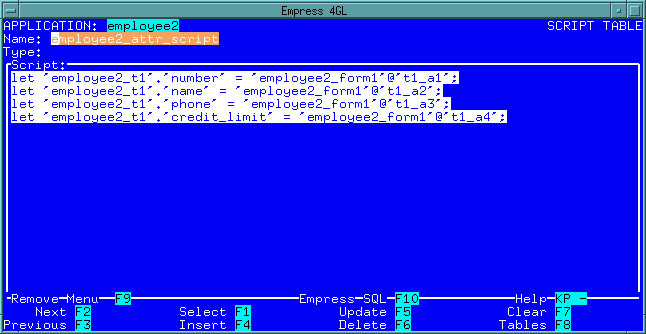 Figure 4-110 employee2_attr_script
The employee2_clear_script clears all the fields in the window by assigning NULL to the fields.
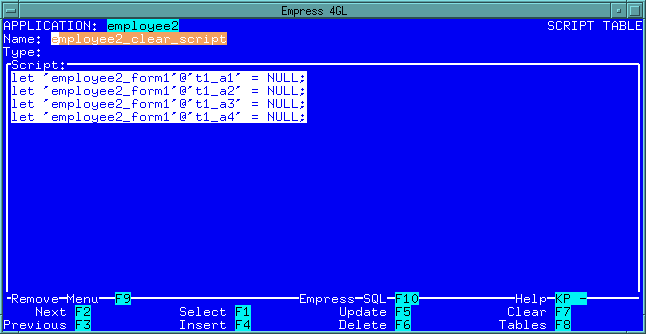 Figure 4-111 employee2_clear_script
4.7.2.5 Application Exit Script
When you exit the application, the Application Exit Script is executed
(defined in the APPLICATION TABLE).
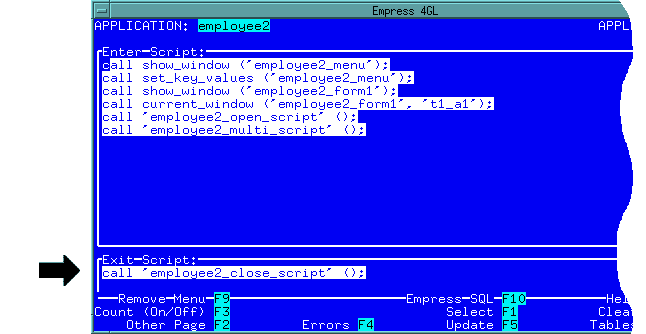 Figure 4-112 Application Exit Script
The script calls for a subscript employee2_close_script which is defined in the SCRIPT TABLE.
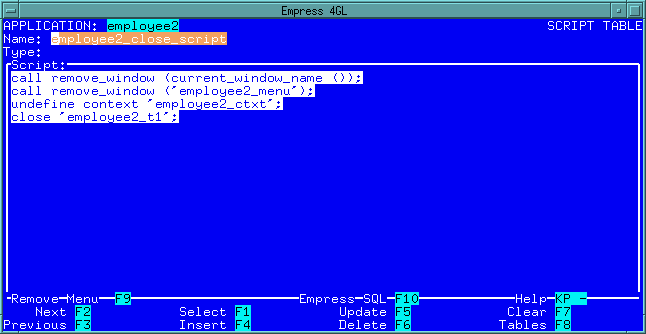 Figure 4-113 employee2_close_script
employee2_close_script removes all the windows from the screen, undefines the select context and closes the table.
After executing the Application Exit Script, the control returns back to the calling application or operating system.
emp4prt database applicationwhere:
| database | is the name of a database. |
| application | is the name of an application. |
The output can be redirected to a file. For example, to print the employee application, type in the following command at the system level:
emp4prt repairs employee > filename